Data Recovery Software for FAT Screenshots
FAT Data Recovery Application is a powerful data restoring tool that recovers your essential files that are lost due to infected or corrupted FAT16 or FAT32 partitioned hard disk drives. Software has an advanced disk scanning algorithm that searches your defective hard disk thoroughly and restores the entire vanished data in a very fast and accurate way. FAT Data Retrieving Tool can easily work with different kinds of hard disk brands such as Lenovo, Western Digital, Seagate, Sony, Maxtor, etc.
Follow the below steps to recover your missing data from corrupted FAT partitioned hard disk using Data Recovery Software-
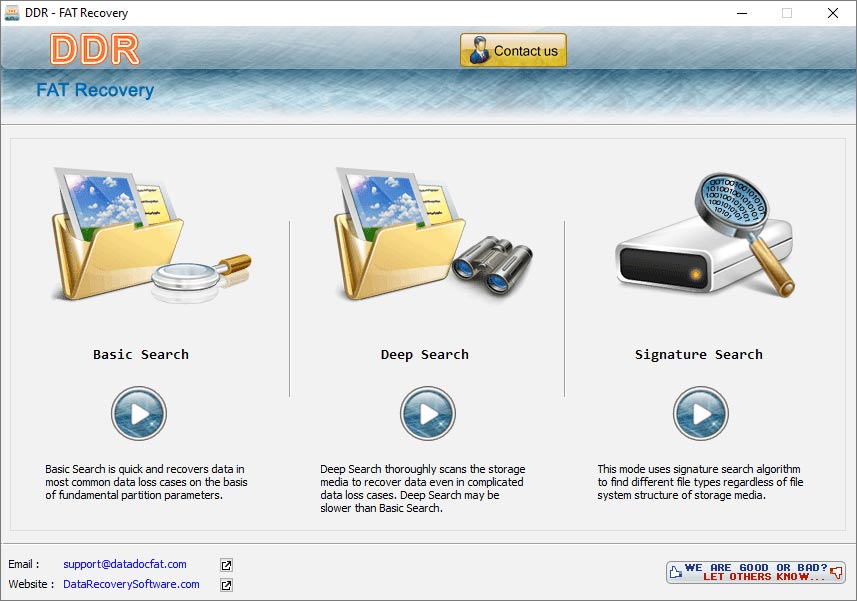
Step 1: Select the Search Mode to recover your lost data
Firstly, you have to connect the defective hard disk partitioned with FAT file system to your PC, and then open the software. Select any one search option to start the file recovery process, "Basic Search", "Deep Search", or "Signature Search". Basic Search allows you to search the lost data (especially in most common data loss cases) in the entire sector of the hard disk. Deep Search allows you to search the lost data (especially in complicated data loss cases) in a specific range of sectors of the hard disk. Signature search allows you to search the lost data on the basis of the file extensions.

Step 2: Select the corrupted hard disk and start the data recovery process
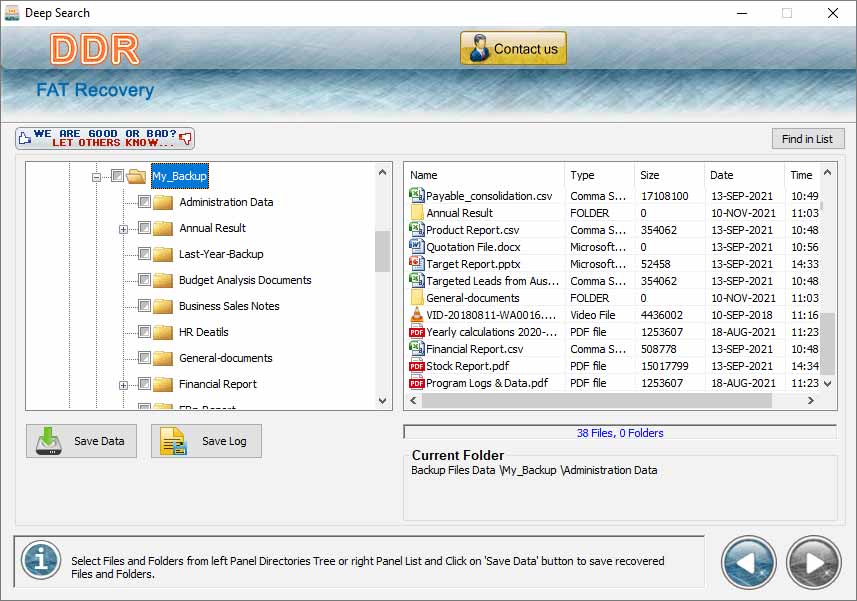
For example, if you choose the Deep Search option, now select your defective FAT partitioned hard disk from the available storage media in a physical drive or logical drive. You can see different information regarding your disk like disk number, partition type, search mode, size, partition number, etc. In deep search, you can select a specific range in which you want to recover your lost files by moving the edges of slider or enter the value of start sector and end sector manually. Now, click on right arrow to start the file searching process. Once your file searching process is completed, you can see all your recovered lost files in the right panel or the file directories tree in the left panel.

Step 3: Save the Recovered files and folders
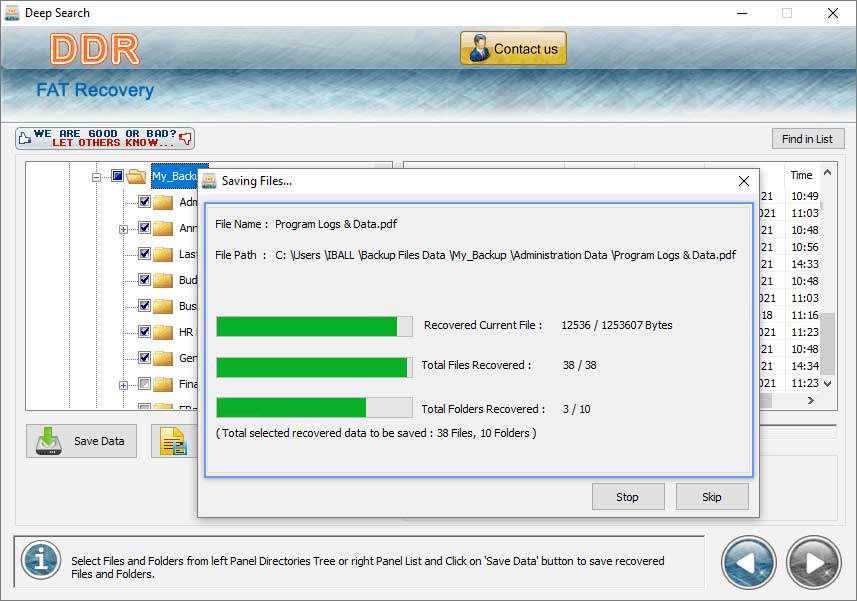
Now, you can click on the "Root directory" checkbox to select all the recovered files and folders or select the specific files and folders from the right panel and then click on the "Save Data" option to save them. You can also save your recovery result as a log file to recover more data in the future. Now, browse the destination where you want to save all the recovered data. But make sure that you should select a different drive location, because saving the data in same drive may cause the overwriting issue and you will lose all your important data forever. After selecting the destination folder, now the saving process starts. Once the process is completed, select "Open Containing Folder" option and click Ok to see all the recovered data.

 Download Now


